
On the second day of a trek in the Mercantour, in the southern French Alps, I had to dump everything out on the side of the trail to find my rain jacket, and that was the day I started learning how to pack a backpack properly. The jacket was at the very bottom, under the sleeping bag. It had already been raining for ten minutes, my gear was spread out on a wet rock, and two people passed me, staring.
That day I realized that packing a bag is not about being neat. It is about logic. What you use while hiking goes on top, what you only open at camp goes at the bottom, and the weight goes where your back can carry it.
Here is the method I have used ever since, zone by zone, with the mistakes that got me there. It is how I pack a hiking backpack, not a rule set in stone, but it has kept me from repeating the scene on the wet rock.
- Why it matters how you pack a backpack for hiking
- Lay out your gear before you fill the pack
- How to pack a hiking backpack, zone by zone
- How to lighten your pack without forgetting anything
- Common packing mistakes, and the ones I made
- How to pack a backpack: the questions I get asked
Why it matters how you pack a backpack for hiking
I thought it was the perfectionism of veteran hikers. I was wrong, and your body lets you know pretty quickly.
Comfort and balance
Carry the same pack, with exactly the same contents, twice in a row with a different packing order, and the difference is staggering. When the heavy load sits too low or too far from your back, the pack pulls backward and you make up for it by leaning forward. After three hours, your lower back starts to complain.
Easy access to the essentials
This is my Mercantour story. The rain jacket, the water bottle, the first aid kit and the snack bars have to be within reach without taking the pack off. Anything that forces you to stop and unpack ends up not being used at all. You would rather be cold than unpack everything.
Preventing injuries
A badly balanced pack gets held up by your shoulders, and shoulders are not built for that. The hip belt should carry most of the weight. If your shoulder straps are digging in after an hour, the pack is not the problem. The fit or the weight distribution is.
Lay out your gear before you fill the pack
I never fill the pack right away anymore. I spread everything out on the floor first. It takes ten minutes, and it has made me leave a lot of useless stuff at home.
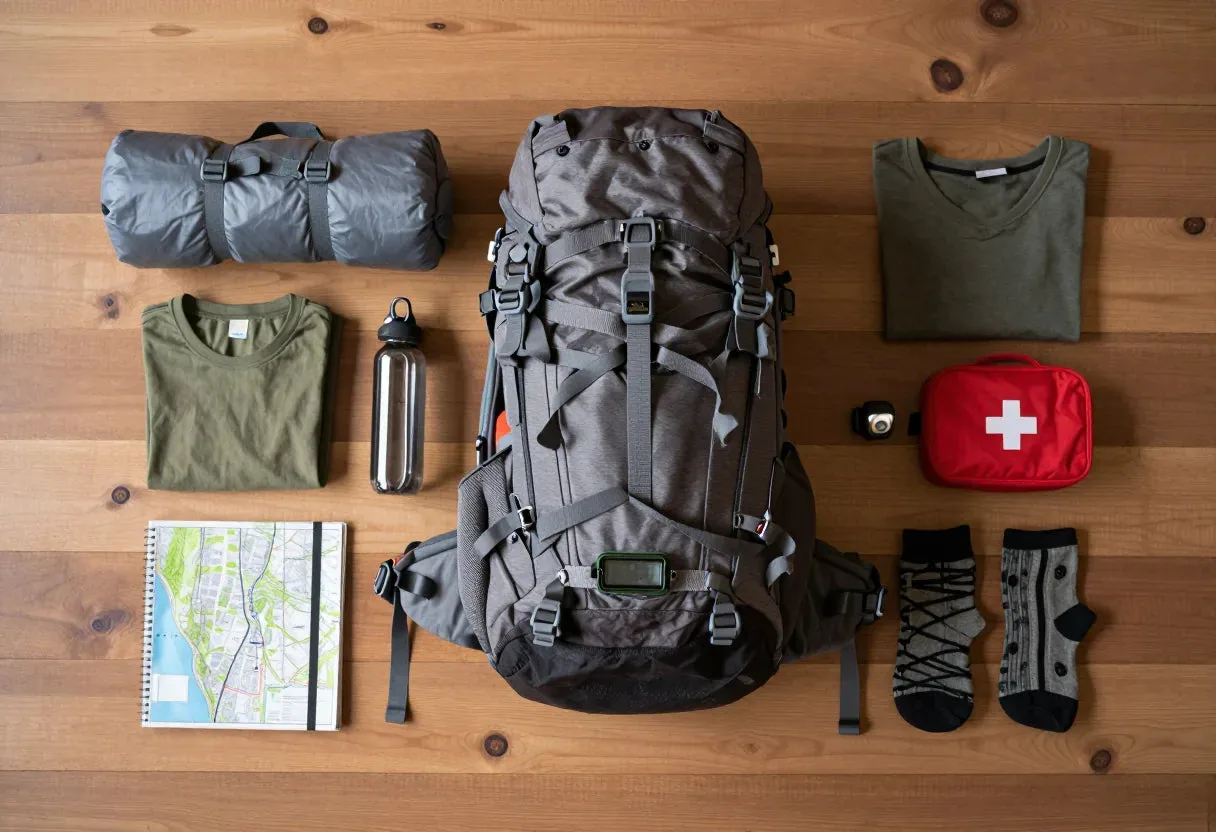
My basic list
- Sleep system: sleeping bag, sleeping pad, and the tent if you are bringing one.
- Clothing: one change of clothes, a warm layer, a rain jacket. Not three T-shirts “just in case”, I quit doing that.
- Water and food: the water bottle or hydration reservoir, the meals, snack bars within reach.
- Safety: first aid kit, headlamp, emergency blanket, power bank.
- Navigation: paper map and compass, even with a phone. Mine died one foggy day.
Match it to the length and type of trip
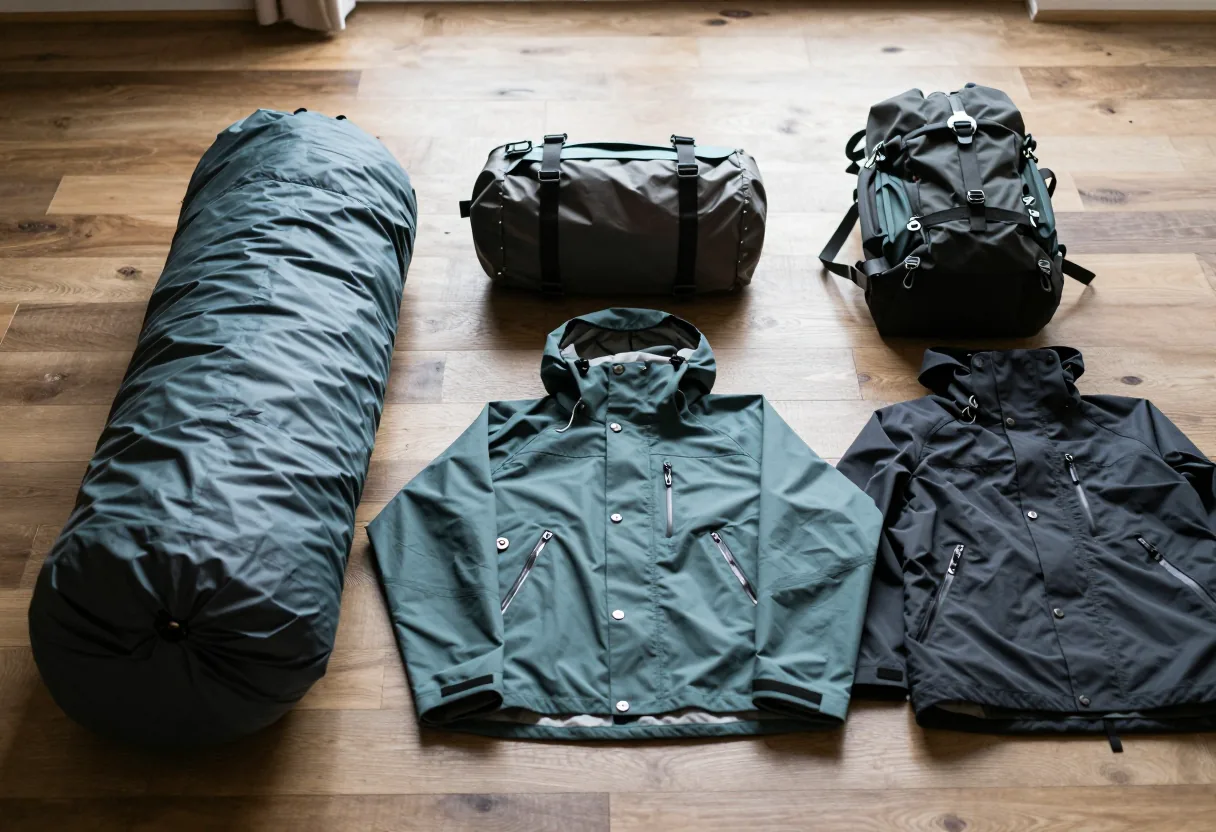
A day hike fits in 20 to 30 liters. Two or three days staying in mountain huts, 30 to 45 liters. A self-supported trek with a tent, 50 to 65 liters. Beyond that, I have found that the space available always ends up getting filled, even when you do not need it. It is a trap I still fall into. The breakdown of how many liters to choose for each use is in my guide to what size backpack you need, and the capacities on offer are in our hiking backpacks.
How to pack a hiking backpack, zone by zone
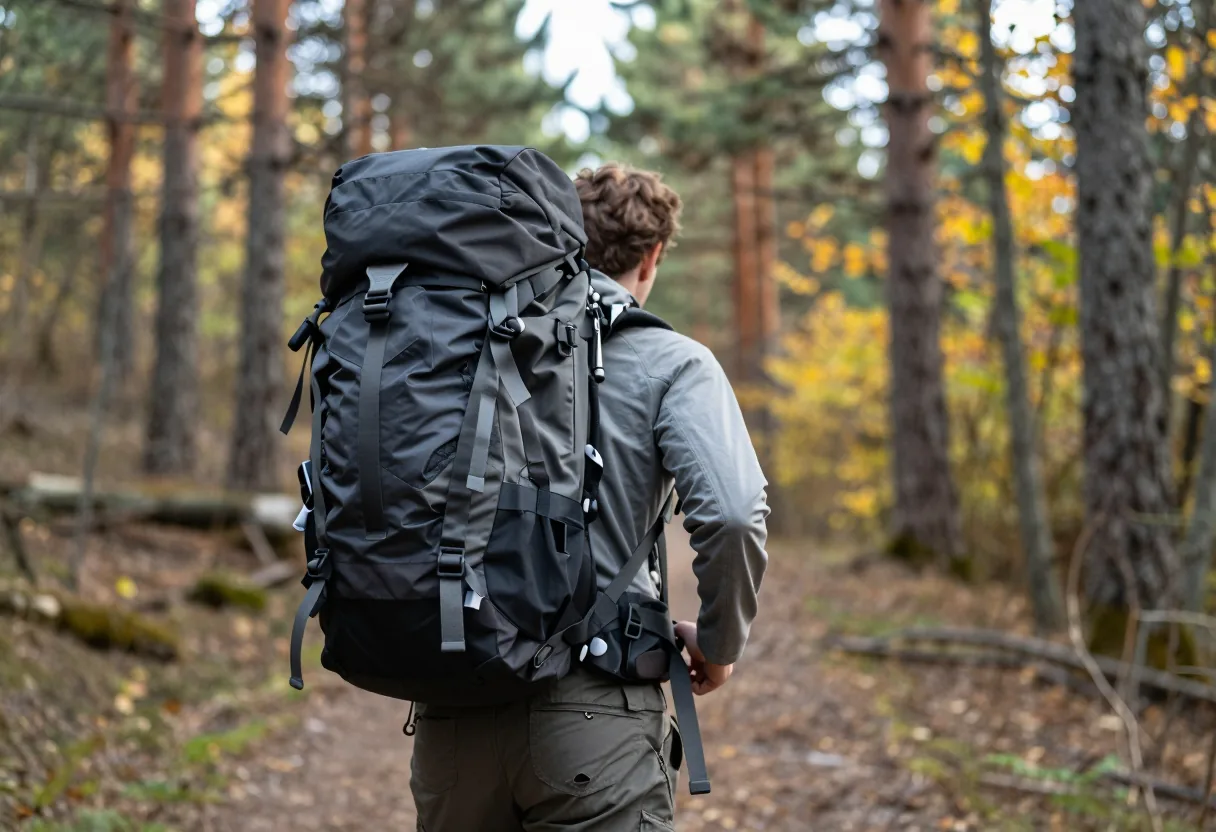
The principle that drives everything is simple. The heavy load has to sit in the middle of your back, against your shoulder blades. Not at the bottom, not at the top, not far from your back. Everything else follows from that.
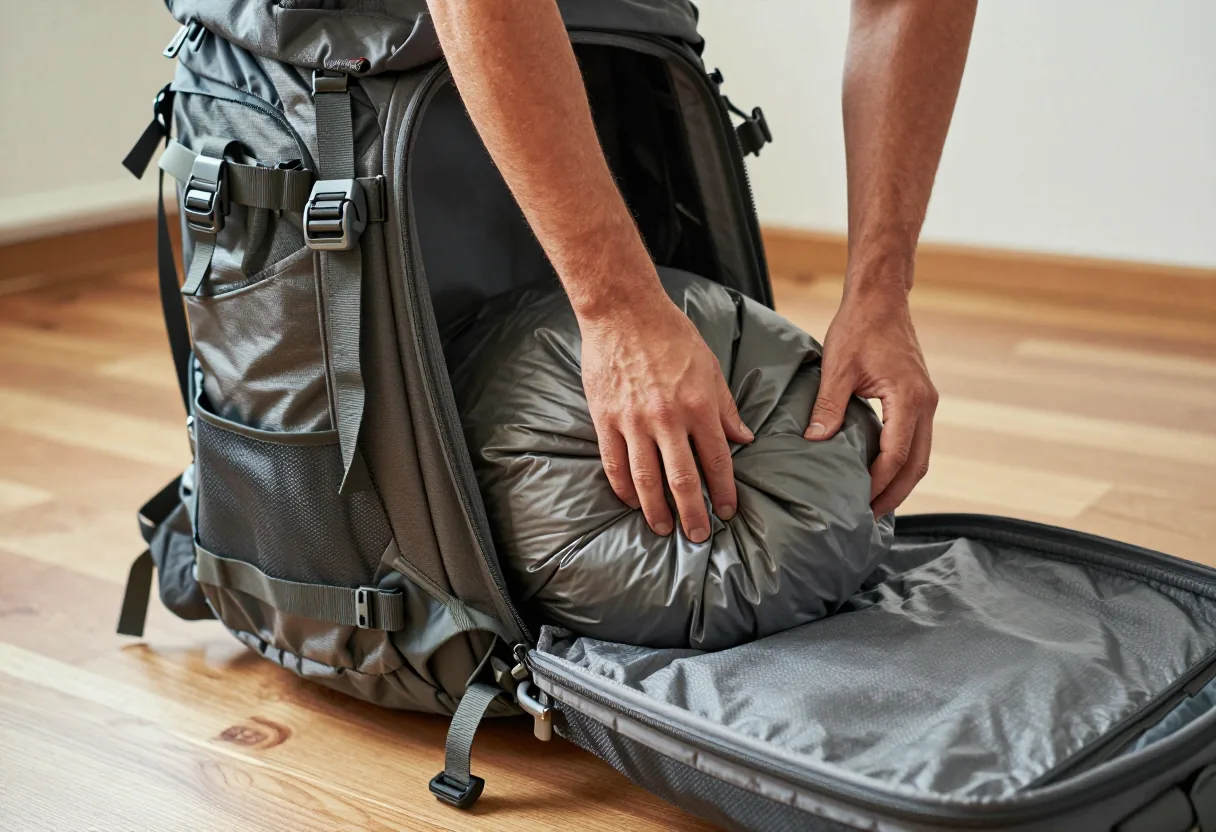
At the bottom of the pack, the sleep zone
The sleeping bag, the sleeping pad, the clothes you sleep in. In other words the bulky but light things you do not open all day. They make a soft base that gives the pack its shape. Many packs have a separate sleeping bag compartment at the bottom designed for exactly that.
In the middle, against your back, the densest zone
Food, stove, extra water, anything heavy. As close to your back as possible, at shoulder blade height. It is the change that did the most for my comfort, and the one I got most wrong. I used to put heavy things at the bottom, because it seemed logical to me.
If you use a hydration reservoir, it goes here too, in its sleeve right against your back. If you carry stove fuel, screw the cap on tight, keep the bottle or canister upright, and wedge it low in this zone, below and apart from your food, so a leak cannot ruin your meals.
On top, quick access
Rain jacket, warm layer, first aid kit, gloves. Everything I need in under ten seconds without taking the pack off. Since the Mercantour, my rain jacket never leaves the top of the pack, whatever the forecast says.
Side pockets and outer compartments
Water bottle on one side, trekking poles or umbrella on the other. One thing worth knowing, which I discovered after hiking lopsided for two hours, is that you should never load just one side. A full bottle of about a quart (one liter) on one side really does throw your balance off.
Hip belt and shoulder straps
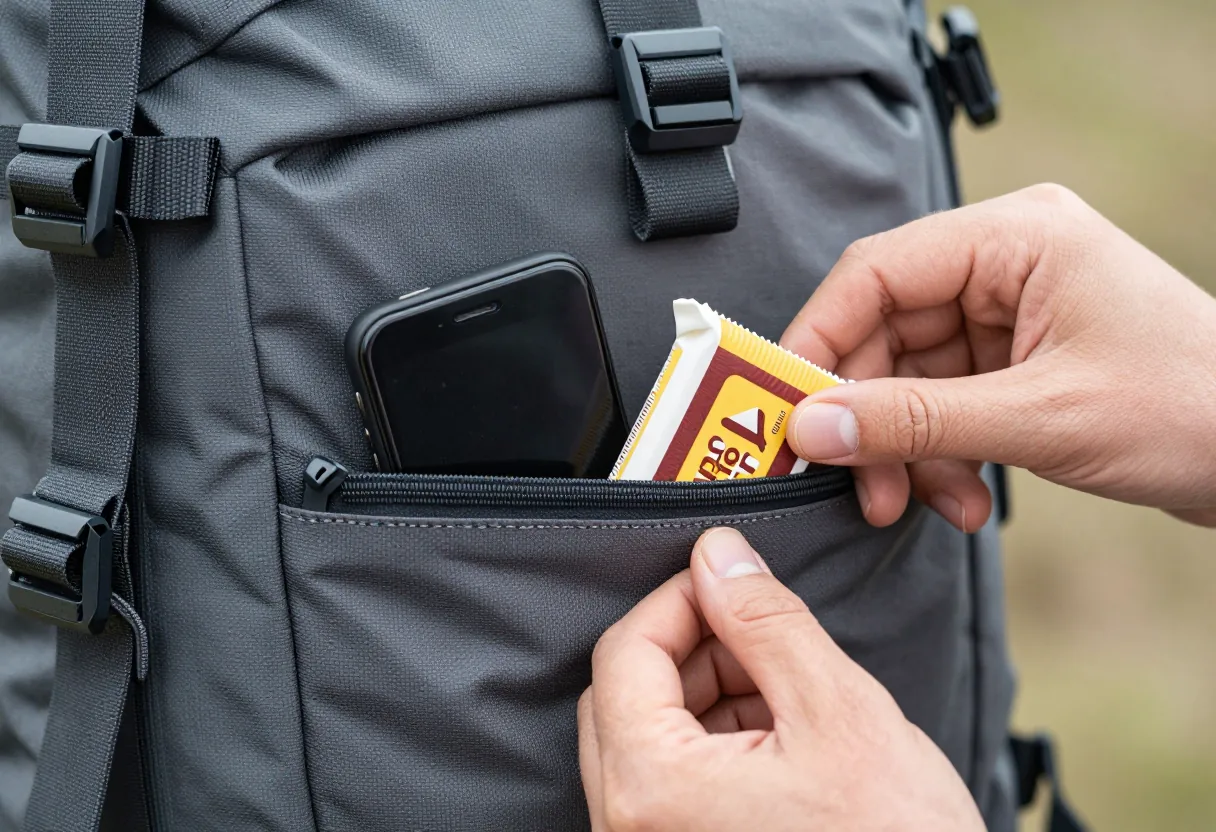
The hip belt pockets are the handiest spot on the pack and the most underused. Phone, snack bars, lip balm, map. These are the things you reach for twenty times a day, and having them at hand without raising your arms makes a real difference in comfort.
Fill the gaps, then cinch the compression straps
Once the three zones are in, stuff soft things such as socks, base layers and a spare fleece into the empty spaces, and fill your cook pot with food or small items, so nothing shifts as you walk. A few stuff sacks for the small items make them faster to find, though not everything needs its own bag. Then cinch every compression strap, which keeps the load tight against your back and stops it from moving.
On the outside, only what has to be there
The loops and straps on the outside are for gear with a clear reason to be there, such as trekking poles or a foam sleeping pad, strapped down tight so it does not sway. Anything that dangles snags on branches and throws you off balance, and gear that can get wet or break is safer inside.
Put it on, adjust it, and take a test walk
Loosen all the straps, then tighten the hip belt first, on your hips rather than above them, the shoulder straps next and the load lifters last. The sternum strap only holds the shoulder straps in place, so you can still breathe freely. Then walk around the house or the block with the loaded pack before you leave. It is the time to move anything that pokes you or pulls you to one side.
How to lighten your pack without forgetting anything
I weighed my pack for the first time after a trip where I had suffered. Thirty-one pounds (14 kg) for two days. It was absurd, and I had not even noticed.
The weight I aim for now
The common rule, the 20% rule, is to stay under 20% of your body weight, a little more for trained hikers. For me, that comes to around 26 pounds (12 kg). The difference between 26 and 31 pounds (12 and 14 kg) is far more noticeable than those 4.4 pounds (two kilos) would suggest, especially going uphill.
Share the load instead of carrying it all
If you are hiking as a group, split the shared gear. One tent, one stove, one complete first aid kit. There were three of us carrying three identical first aid kits on one trek, and nobody thought about it until the third day.
What I stopped bringing
- Duplicate spare clothes. One backup outfit is enough, and you wash the rest at the hut.
- Original packaging. I repack food into zip bags, which saves around a pound (several hundred grams).
- The big camera, which I never took out more than twice per trip.
- Full water bottles when there is a spring or a hut halfway. Every liter of water weighs 2.2 pounds (a kilo).
For trips where the volume you need changes a lot from one day to the next, the multipurpose expandable travel backpack lets you adjust its capacity instead of hauling empty space around.
Common packing mistakes, and the ones I made
The weight in the wrong place
The most common one, and mine for years. Heavy things at the very bottom of the pack. The result is a pack that pulls down and backward, and that you hold up with your back without realizing it.
A pack that is too heavy
Thirty-one pounds for two days, as I said. The real cost is not how tired you feel at the time. It is that I hiked worse, that I watched my feet instead of the scenery, and that I ended up not wanting to head out again.
What I still forget sometimes
The headlamp, the emergency blanket, the power bank. I take a photo of my gear laid out before I leave, and I look at it while I repack. It is a dumb trick, but it works better than a written list I never reread.
How to pack a backpack: the questions I get asked
What is the 20% rule for backpacking?
Around 20% of your body weight, pack included. That is the 20% rule, a rule of thumb repeated across hiking guides, and some guides allow 20 to 25%. For a day hike, you can easily get below 15%. What matters as much as the number is how the weight is distributed. Twenty-six pounds (12 kg) well placed carry better than twenty-two pounds (10 kg) badly placed, and I have checked that several times.
What should I pack in my backpack for a day hike?
A 20 to 30 liter pack is enough. Inside go water, snacks, a rain jacket, a warm layer, a first aid kit, a headlamp, a map and compass, sunscreen and a charged phone, with gloves or a hat depending on the weather. The rain jacket, the water and the snacks go where you can reach them without taking the pack off, as in the zones above.
What is the difference between a hiking backpack and a travel backpack?
A hiking backpack opens from the top and carries the weight on your hips with a frame and a padded hip belt. A travel backpack opens like a suitcase, which makes it much easier to find your things, but it is designed to be carried over short distances. The models in our travel backpack collection are made for that use.
Can you take a trekking pack on a plane?
As a checked bag, no problem. I always strap down anything that hangs loose, otherwise the straps get caught in the conveyor belts. As a carry-on, you need to stay under roughly 16 x 8 x 22 inches (40 x 20 x 55 cm), which rules out most packs over 40 liters.
If your sleeping bag has to ride on the outside, I also explain how to attach a sleeping bag to a backpack and check that it is secure before you start walking.
Do you need a rain cover?
Yes, and I add dry bags inside for the sleeping bag and the dry clothes. A cover alone lets in the water that runs down your back, which I found out with a soaked sleeping bag one stormy evening. A pack liner, even a heavy-duty trash compactor bag, around the whole contents of the pack does the same job as the dry bags in one go.
So what is the best way to pack a hiking backpack?
Heavy things in the middle, against your back. Bulky, light things at the bottom. What you use while hiking, on top and in the hip belt pockets. Three sentences, and they solve 90% of the problem. That is what I took from the Mercantour.
The rest is accepting that you cannot bring everything. That is the hard part, and it is the one where I am making the slowest progress.
Our backpacks to take you further
- See all our hiking backpacks and trekking packs
- The multipurpose expandable travel and hiking backpack
- Our travel backpacks